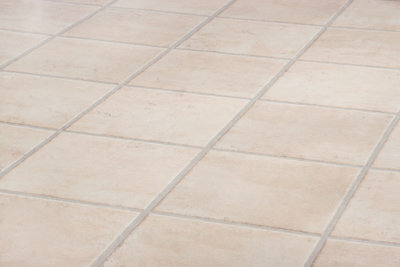
Apply roll-on plaster to tiles
Plastering walls is trendy. Plaster can be individually designed, application is easy and requires less work than laying tiles or wallpapering. Especially in the bathroom, you can easily cover your old tiles with a roll-up plaster. It is much more pleasant than tearing it out and replacing it.

What you need:
- primer
- Roll plaster
- Plaster tinting paint
- Filler
- Wallpaper spatula
- paint brush
- Paint roller
- Ceiling brush
- Cover film
- Painter's tape
- Squeegee
- Paddle
- drilling machine
Pre-treatment of the tiles
- A smooth one Underground is the most important requirement for applying a roll-on plaster.
- So the first thing to do is to clean the Tiles thoroughly with washing-up liquid and then fill in the existing furrows and holes with filler.
- To brush Smooth the filler so that a smooth base is created.
- Now tape everything that should remain clean and free of plaster with painter's tape. In addition to windows, think of sockets and light switches. It is best to unscrew this beforehand.
- Now apply the plaster primer paint. This is necessary so that the plaster adheres well later and does not fall down again at some point.
- The primer also adheres to metal surfaces and plastic. So you can coat everything you have planned to plaster with it.
- Apply the primer with a paint roller or brush. Use the brush for small or difficult areas.
- The primer should now be allowed to dry for at least four hours.
Plastering inside - tips for beginners
There are different types of plaster that serve different purposes. As plaster ...
Application of the roll plaster
- The roll-on plaster must be stirred well before it is applied to the tiles. Use the drill and the paddle on a low setting for this. If you want to tint the plaster with masking paint, stir it in at the same time. Keep stirring until everything is well mixed.
- Use the paint roller again to apply. Moisten it with a little water before immersing it for the first time. Now apply the plaster to the wall with the roller. This creates a visible structure that you can keep as you wish.
- If you want to give the plaster its own structure, you should start with it immediately after application. Under no circumstances should you wait longer than 15 minutes, otherwise the plaster will become too firm.
- For structuring, you can use different brushes or sponges, just as you like.
- As soon as you are done, peel off the painter's tape so it doesn't stick to the plaster.
- You can then paint over the plaster again if you don't like the color you have chosen.
- For surfaces that can get damp, such as the shower or bathtub, there is a special overcoat, such as elephant skin. This prevents the plaster from becoming damp.
How helpful do you find this article?


