VIDEO: Tinker with paper mache for Easter
Paper mache, also called paper mache, is a popular method in making Handcraft. In these handicraft instructions you will learn how to make a beautiful Easter basket for Easter. You can put the self-made decorations on the table or the window sill. Allow enough time as the paste will take some time to dry.
Make an Easter egg with paper mache
If you want to make colored eggs with paper mache for Easter, have plenty of newspaper ready. You will also need balloons and paste, such as wallpaper paste.
-
Inflate the balloon. First blow up the desired number of balloons. If you don't want eggs that are too large, the balloon will form itself into the egg shape. If not, use string or masking tape to tie the balloon together at the top to create an oval shape.

© Liane Spindler -
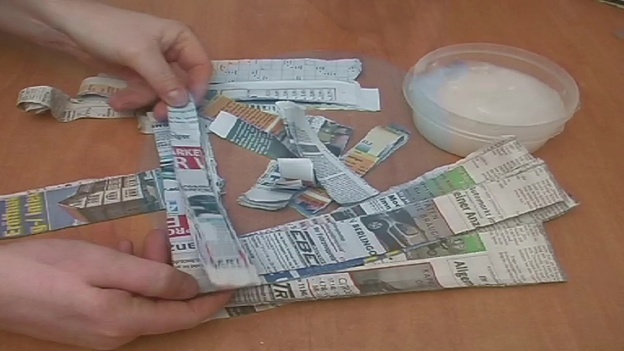
Prepare paste and newspaper. Mix the paste as indicated on the package and tear the newspaper into small strips.
© Liane Spindler -
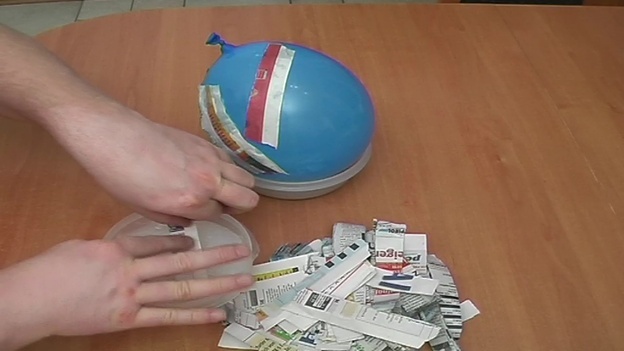
Dip the newspaper in paste. Tape the newspaper strips to the balloon. To do this, dip a strip of paper in the paste.
© Liane Spindler -
Cover the balloon. Glue the strip lengthways onto the balloon.
© Liane Spindler -
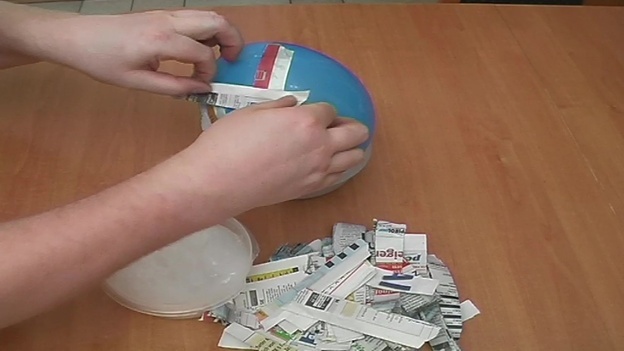
Stick on the entire balloon. Continue like this until the entire balloon is covered with several layers of paper. Make sure that the egg shape is retained.

© Liane Spindler
Are you wondering whether you can use the napkin technique to stick Easter eggs? The answer …
The whole thing now has to dry very well. Ideally two days, but at least 24 hours.
Make a nice nest for Easter
To make a nest from the finished Easter egg, you need a pen and a craft knife. Use brushes and for decoration Colours, Easter grass, colored eggs and or little chicks.
-
Draw a jagged line. Once your Easter egg is completely dry, use a fineliner to draw a jagged line around the egg.

© Liane Spindler -
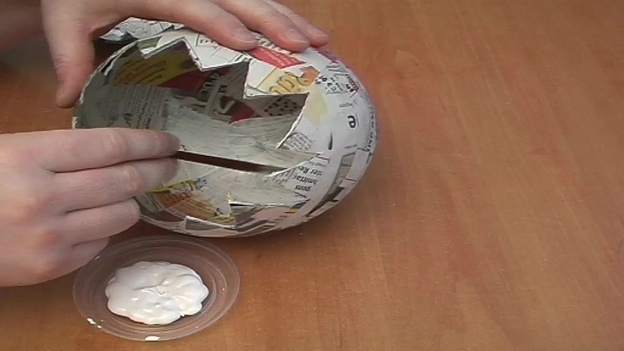
Cut out. Cut out the Easter basket along the line with a craft knife. This has the effect of a cracked egg shell. Please remove this step from children.

© Liane Spindler -
Remove the balloon and paint the egg. Now remove the balloon and paint the inside of the egg white. So-called poster colors, which you can get in every craft store, are best suited for this.
© Liane Spindler -
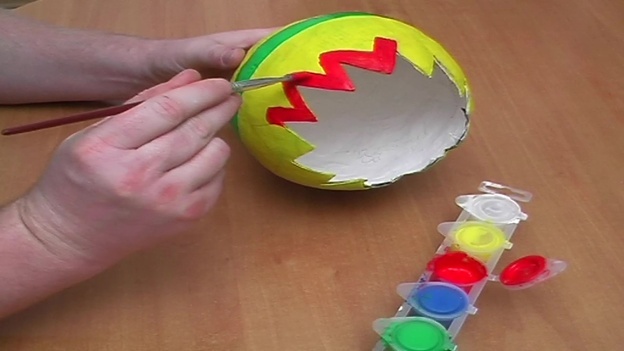
Paint the egg on the outside. Design the outside of the Easter egg according to your taste with bright, bright colors. You can also paint the cut lid from the egg.
© Liane Spindler -
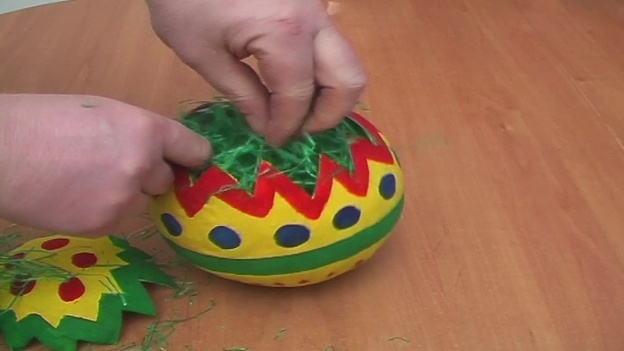
Fill with Easter grass. When all the colors are dry, fill the egg with Easter grass.
© Liane Spindler -
Put in the Easter eggs and figurines. Finally, put colored eggs in it, put chicks, Easter bunnies or other Easter figures in the grass. Your Easter basket is ready.

© Liane Spindler
Alternative craft tips for Easter
If you would like to let children do handicrafts alone, do without the cutter knife. Instead, use the scissors to cut a small hole in the top of the Easter egg. Wait for the air to escape and use a pair of tweezers to remove it. Then glue the "lid" that has been separated off with craft glue before painting.
Instead of an Easter nest, you can also make whole Easter eggs in this way. If you attach a thin thread at the end, you can hang the Easter eggs on the Easter bouquet, on windows or doors. If you make several balloons at the same time, you can use them to decorate pretty nests for Easter. Or you can thread a few Easter eggs on a cord and decorate your home with colorful egg chains.