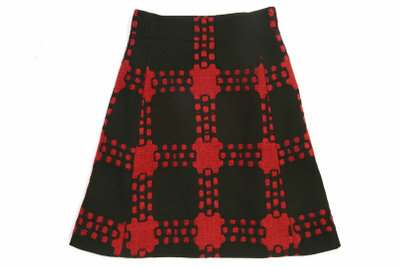
Sew a skirt yourself with a free pattern
You can sew a simple skirt yourself in a very short time and without much prior knowledge. With sewing patterns, it is also very easy for beginners if you follow the instructions step by step.

What you need:
- material
- Tape measure
- sewing machine
- matching yarn
- Pins
- Iron
- Tailor's chalk
- Scissors
The Internet is a treasure trove of free Sewing patterns and sewing instructions. There you will find numerous free patterns with the appropriate instructions, which range from beginners to professionals.
How to sew according to the pattern
- Find a free pattern for your skirt on the Internet that you like and that is also suitable for your sewing level (beginner / advanced / professional).
- Print out the pattern and the sewing instructions and copy the pattern up to the original size.
- Select a suitable fabric for your skirt according to the sewing instructions. Wash and iron the fabric before using it. This will prevent the material from running in and wash out any residues.
- Make sure the correct size is on the pattern and cut out the pattern to your size. On most patterns, the cuts are available in several sizes and labeled differently.
- If you want to use the cut again later in a different size, trace the cut in the required size with parchment paper.
Pretty dresses - this is how you tailor a shift dress
Tired of shopping for uniform clothes? Then try ...
The pattern for the skirt
- Are you wondering that there is only half of all the parts? This is because you usually fold the fabric, i.e. fold the fabric lengthways and then cut it to size.
- The sewing instructions always refer to the right and left side of the fabric. The right side is always on the outside, i.e. the side that you will see later. The left side is the inside. Usually the right and left side are shown differently on patterns, usually the right side is mostly darker or hatched.
- Now cut out your chosen pattern. Make sure that the seam allowance has already been taken into account (see sewing instructions).
- Now fold the fabric according to the sewing instructions. Mostly we speak of selvedges or thread running. The reinforced side edges of the fabric that are created during weaving are called selvedges. These lie parallel to the grain of the thread. The thread run denotes the running direction and lies parallel to the selvedges in the longitudinal direction of the fabric.
- Now use pins to tack the pattern onto your fabric. If there is still no seam allowance, draw approx. Follow the outline 1 cm next to the template, otherwise you can outline the template directly with the tailor's chalk.
- Now cut the fabric with sharp fabric scissors and follow the sewing instructions step by step.
- And your unique piece is ready!
How helpful do you find this article?
