
Remove old tile joints and insert new ones
Tile joints that have become discolored over time, have become brittle or where mold has formed can easily be removed and replaced with new ones. You do not need to order a tiler or to re-tile the entire floor. It is a bit time-consuming, but by no means a problem for the hobby craftsman.
What you need:
- Cover film
- duct tape
- Milling machine with joint milling attachment
- box cutter
- vacuum cleaner
- Grout
- drilling machine
- Paddle
- Squeegee
- Sponge board
Mill out old tile joints
- Before you start removing the tile joints, you should first cover all the objects in the room with foil and tape. You can completely remove smaller objects and furniture from the room.
- First of all, the old tile joints have to be removed. This is best removed with a milling cutter that has a joint milling attachment for joint mortar. If you do not have a milling machine to date, get detailed advice on purchasing a new one from a specialist shop.
- Make sure that when you mill out the Put Proceed slowly and carefully and always guide the router precisely and with a steady hand along the tile joints to avoid the Tiles to damage.
- Note: when routing the joints out of a tiled wall, you should work from top to bottom. In this way, the old mortar does not get stuck in the joints that have already been milled out.
- As an alternative, in particular to remove joints from floor tiles, a joint scraper or pointed chisel and hammer are also suitable. Keep in mind, however, that the workload is a bit bigger this way.
- Then loosen finer, still stuck mortar residues with a carpet knife. You can remove loose mortar and dust in the milled joints with either one vacuum cleaner or a wet rag.
Renew and color tile joints - this is how it works
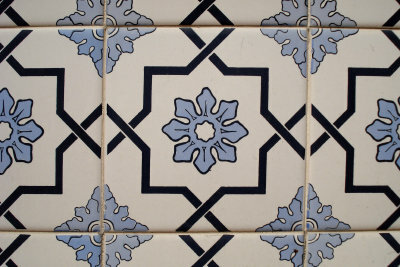
After many years of use it can happen that tile joints have a different color ...
Re-grout after removal
- You can obtain grout in different colors from specialist retailers, which you can choose to match your tiles.
- Also make sure that the usual grout is usually designed for a joint width of up to 4 millimeters. If your tile joints are larger, you should use a grout that has a higher proportion of plastic and does not tear as quickly.
- Now mix the suitable mortar with a drill and mixer and follow the manufacturer's instructions on the packaging exactly.
- Then work the mortar into the joints with a rubber squeegee diagonally to the tiles. Rub the squeegee several times over the tiles until the tile joints are evenly filled with mortar.
- After about 15 minutes the grout will dry and you can remove the excess grout from the tiles with a sponge board.
How helpful do you find this article?