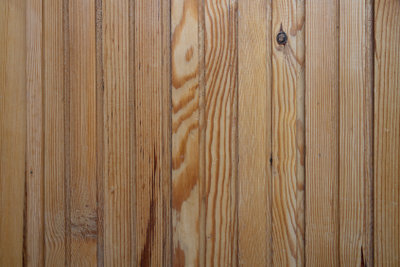
Install a wooden panel on the wall
You have a wall covered with wallpaper, but you think that wood paneling could give the room a new twist. Then just give it a try.
What you need:
- Panel wood or MDF panels
- Support strips
- Profile board claws
- Knock-in dowels
- drilling machine
- hammer
- Nail holder (optional)
Wooden cladding - these are the advantages
- Wall coverings come in a variety of types, shapes and colors.
- With wall wood paneling, completely new accents can be set in a room.
- In addition wood not only has a visually attractive design, but also has insulating properties. The result is that wood is a very poor conductor of heat.
- Wooden cladding made of wood can be made of natural wood, so-called tongue and groove panels, or they can be coated. There are fewer decors on offer for natural wood. This is because each type of wood has its own decor or grain. Here, however, a wide variety of effects can be produced by pickling. With the coated panels you can choose from a wide variety of grains and decors. In fact, coatings can be applied to the panel wood with any design.
Wall with wood cladding - this is how you should proceed
- The wall substrate should not have any holes. It must be ensured that the substructure for the wood cladding has a good and stable hold on the wall.
- Try to find bumps on the wall with a straightedge. You mark these places. Raises can usually be removed by carefully removing plaster. You can compensate for depressions by lining between the crossbars of the substructure and the wall. Wooden wedges, for example, can be used for this.
- Attach the crossbars to the wall using, for example, hammer-in dowels. With these dowels, you only need to drill through the cross timber and wall in one go. The dowel is then only hammered in and the crossbar is firmly in place. This method is very suitable for flat walls.
- The distance between the crossbars should not be more than 20cm from the floor and wall and 50-60cm between the crossbars.
- Now apply the individual panels to the substructure using the profile board claws. To make this work a little easier, it is best to use so-called nail holders. These nail holders are available from hardware stores for one euro.
- Put panel by panel together until your wall is paneled with wood cladding.
- For embellishment, you can now also attach edge strips. This means that the ends of your panels cannot be seen and the edges make an even and clean impression.
Wall cladding - attaching wooden panels goes like this
Both ceilings and walls can be clad with panels and so individually ...
How helpful do you find this article?