
Let plastic garden ponds in correctly
Your own garden pond is a small oasis right next to the house: a biotope with a wide variety of plants and Animals, perhaps a small fountain or a watercourse - garden ponds can be created in many ways design. When building, a prefabricated plastic tub offers a real alternative to pond liner.
What you need:
- shovel
- Possibly. Mini excavator
- Tape measure
- Spirit level
- sand
Compared to the use of pond liner, a plastic pond tray offers the main advantage of greater stability and longer durability. Prefabricated garden ponds made of PVC or polyethylene are available in a wide variety of sizes and shapes, so you are sure to find a suitable model for your garden.
Preparing and digging the garden pond
- First, mark the shape of the pond at the spot you have chosen by turning the tub upside down on the ground and sprinkling some sand around it.
- You can already start digging the pond pit. Of course, you have to take into account the pond zones in the plastic bowl at different depths. To do this, measure the respective depth and try to reproduce the shape as precisely as possible. When digging out the garden pond, add about ten centimeters to the depth of each pond zone.
- As soon as you have finished digging the garden pond, remove larger stones and roots so that they cannot damage the tub.
- Now fill about ten inches high of sand on each step of the pond. This also protects the plastic pond from being destroyed by stones or the like.
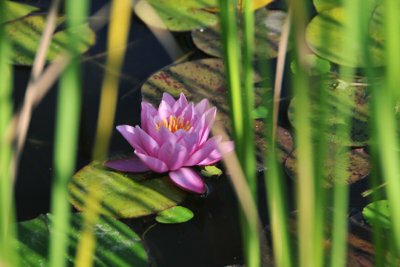
For many people, their own garden pond is a particularly beautiful place to ...
Letting in the plastic tub
- Now insert the plastic tub as a test. You can now see where you still have to rework. If the pond pan is just a little crooked, you can simply push it a little harder into the soft sand.
- Use a spirit level to check whether the plastic tub is exactly level in the pit. This is particularly important so that the garden pond can later be completely filled without overflowing on one side.
- Finally, any existing cavities under the pond shell have to be filled so that it does not bulge later due to the weight of the water there.
- The easiest way to do this is to use the garden hose to rinse your almost finished garden pond with plenty of water. This flushes sand into the possible cavities, so that the plastic garden pond now lies flat.
Complete! Your new garden pond can already be designed and filled with water.
How helpful do you find this article?