VIDEO: Design your own photo album
Create the photo album
To the 18th date of birth To design a photo album yourself, you need construction paper in the desired album size. You will also need photos, photo glue, pens and plastic sleeves and a bow to tie the pages together.
-
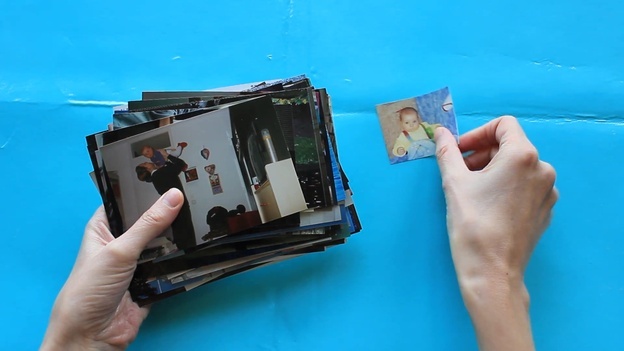
Choose pictures. First, look for the most beautiful pictures from the first 18 years of the birthday child. Ultrasound images are also wonderful memories.
© Liane Spindler -
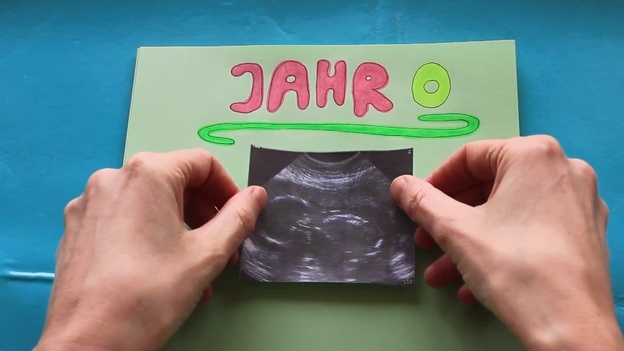
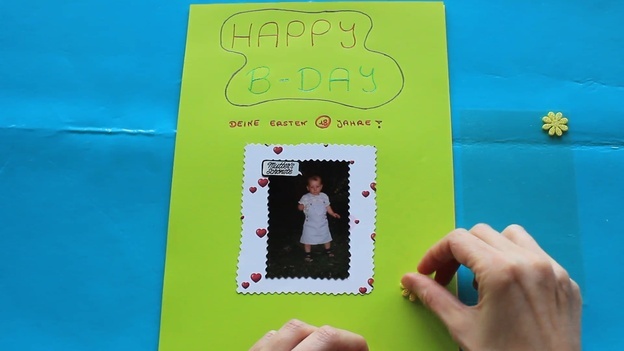
Label album pages. Take the first construction paper, label it with "Year 0" and stick the ultrasound image on it.
© Liane Spindler -
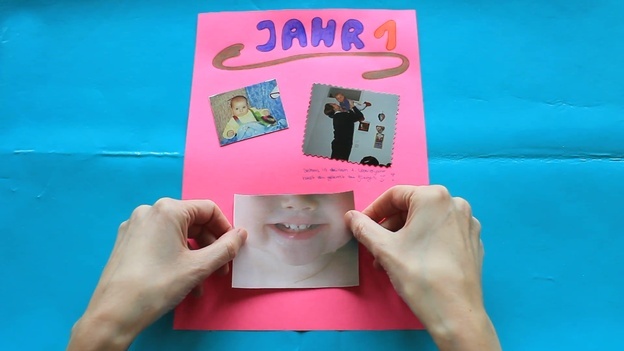
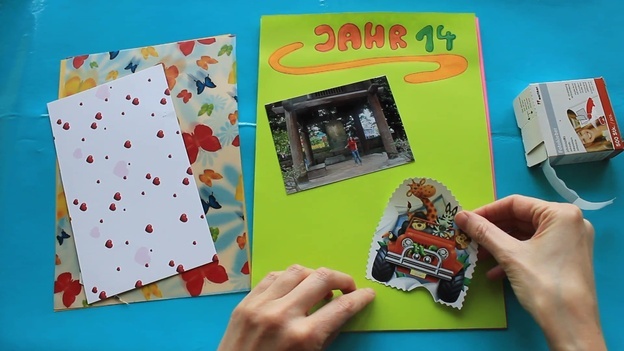
Glue photos. Now design an album page for each year of life and stick on the appropriate photos.

© Liane Spindler -
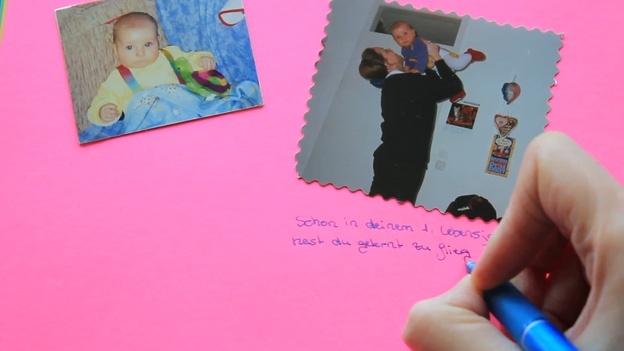
Position photos differently. Position the photos straight, at an angle, above or below - the way you like it.
© Liane Spindler -
Label photos. Write text under the photos that match the memories.
© Liane Spindler -
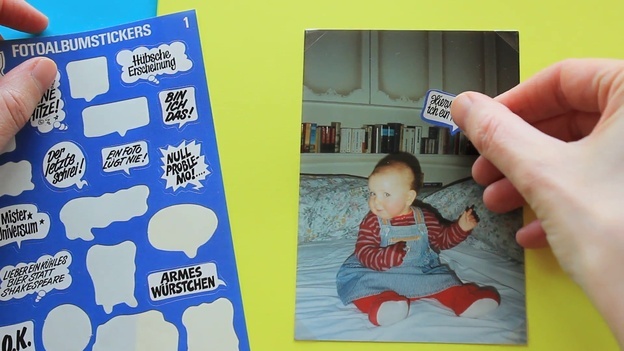
Stick on stickers. Stickers with funny sayings are also ideal for underlining the photos with words.
© Liane Spindler
A photo book is a nice gift for friends, colleagues and relatives. Pleas e ask your question …
Once you have completed the basic framework of the photo album, start decorating the album pages.
Design your own photo book with accessories
Photo books are great gift ideas that will keep the recipient happy for a long time. So that the photo albums do not look too monotonous, it is good if you decorate them with additional accessories. To create an individual album for the 18th To design a birthday, curls of hair, teeth, foot or hand prints and similar memories are recommended. Decorative stickers, sheets or scrapbooking pictures are also ideal for embellishments.
-
Memories of the birth. In addition to the ultrasound image and the first baby photos, the baby's hospital ribbon is also suitable for the first page of the album.

© Liane Spindler -
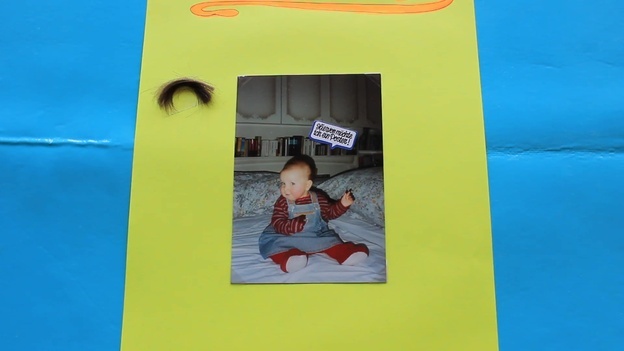
The first lock of hair. With the first lock of hair you beautify the album pages of the first years.
© Liane Spindler -
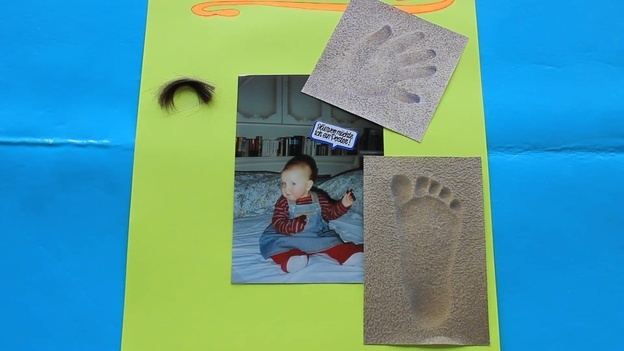
Memories of the baby time. Hand and footprints from the baby days are also wonderful memories for the now adult birthday child.
© Liane Spindler -
Decorate special moments. You can put special moments in the limelight with decorative stickers.

© Liane Spindler -
Underline vacation memories. Leaves and natural materials bring out vacation memories particularly well.

© Liane Spindler -
Album pages with charm. With scrapbooking pictures you can decorate scrapbook pages that you want to give a special charm.
© Liane Spindler -
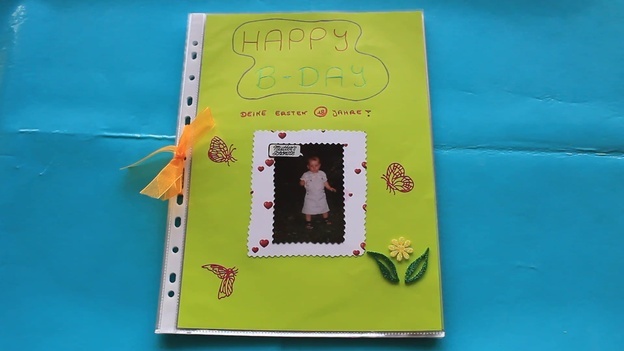
Design the cover sheet. When you have finished designing the photo album, create a cover sheet. You can also use decorative elements.
© Liane Spindler -
Protect pages. Now put each album page in a transparent sleeve to protect photos and decorations.

© Liane Spindler -
Tie pages together. Tie the sides together with a pretty bow.

© Liane Spindler -
Give away a photo album. Now the photo album is ready and you can use it for the 18th Hand over birthday.
© Liane Spindler
If you want to design more photo albums yourself, you can also design them for other occasions. Whether it's a birthday, Christmas, wedding or an anniversary - a photo album is always a nice and personal gift.