VIDEO: Christmas star made of wood
You will saw this decorative poinsettia out of plywood. You can either design the template freely by hand, or you can easily create it on the PC using the Word writing program, which is done within a few minutes.

Create a template for poinsettia on the PC
- Open a Word document and click on "AutoShapes" below the document.
- A drop-down menu opens, click on the selection labeled "Stars" and then on the five-pointed star.
- Place your cursor in the middle of the Word document and set a while holding down the Shift key Star by holding down the left mouse button and shift key and moving the cursor a little bit move.
- In the upper formula bar click on "Format", then in the drop-down menu on "AutoForm" and set the size of your template to 20cm in width and height.
- Save the document and open a new one. Now copy the star from the first document into the second and reduce it to 15cm in width and height.
- In the same way, create a third star that is 10 centimeters.
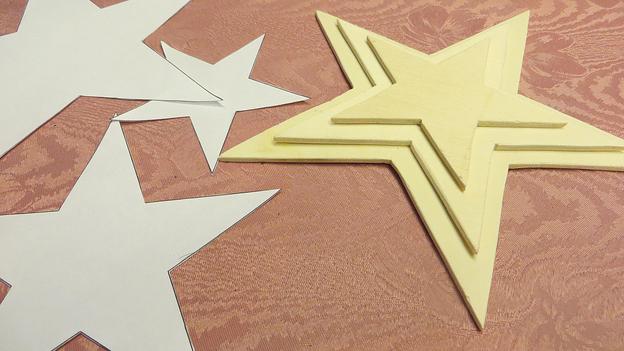
- Print out the three documents on separate sheets of paper and cut out the stars. These are the templates for your three-piece plywood Christmas star.
Tinker wooden figures - Instructions for nativity figures
For children in particular, a successful Christmas is not just about gifts and ...
Transfer the stars to plywood and saw them out
- Now place the three templates for the poinsettia next to each other on the plywood sheet and trace their outlines exactly with a pencil.
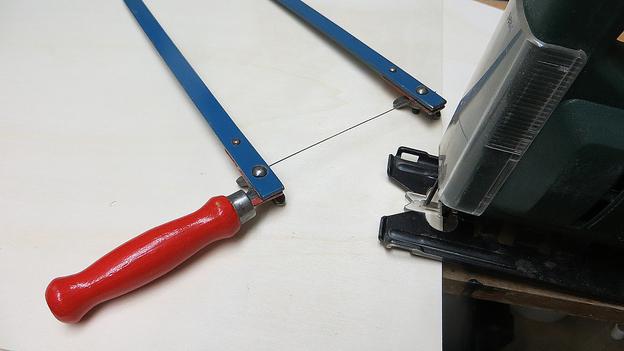
- The quickest way to saw out the stars is to use a jigsaw with a saw blade for fine objects wood use. A coarser saw blade is not suitable as it causes the wood to splinter at the cut edges. If you don't have an electric jigsaw, you can of course use a fretsaw. However, this is much more tedious and takes a lot of time.
- The sawed edges of the three poinsettias are probably slightly fibrous. So sand them smooth with fine sandpaper.
Tinker Christmas star out of wood - this is how you proceed
Before you the three Stars stick on top of each other, they are still painted.
- Paint the largest star on both sides, because the reverse side will be visible after sticking them together. The two smaller stars are only painted on one side. Please do not forget to paint the edges as well. This works best with a narrow brush.
- Then glue the stars together with wood glue. Use a tape measure or ruler to align so that you can center the stars on top of each other. Align the beams so that their tips point in the same direction.
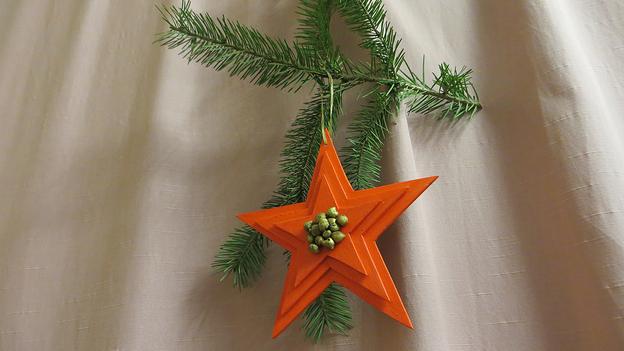
- Now take a button and paint it red. Once it is dry, glue it to the center of the poinsettia. If you want, you can drip a little gold lacquer into the buttonholes.
- In principle, you can now set up the poinsettia by leaning against it. If you want, you can also drill a hole in it with a hand drill and hang the star on a pretty ribbon.