VIDEO: Paint. NET: Remove background
Paint. NET install
Before you with Paint. NET If you can remove the background of an image, you must first install the program properly if you have the software shouldn't have it on your PC yet.
- Download yourself to it Paint. NET and start the installation.
- Then select "User-defined" in the first window and use the "Next" button at the bottom right.
- Then select "I agree" and click "Next" again.
- If you have Paint. NET as the standard program for your image editing want to use, leave the first checkmark activated. Otherwise remove it.
- Then click on "Next", optionally select a different storage location and then click on "Next" twice in the lower right corner to start the installation.
- The installation can take a few minutes. You can then use Paint automatically. Let NET start if you leave the checkmark activated.
At Paint. NET use the stamp - this is how it works
The free image editing software Paint. NET allows you to share your photos and ...
Remove background
Once you have Paint. NET successfully installed, you can remove the background of your picture in just a few steps.
- To do this, start Paint. NET.
- After Paint. NET is started, press Ctrl + O.
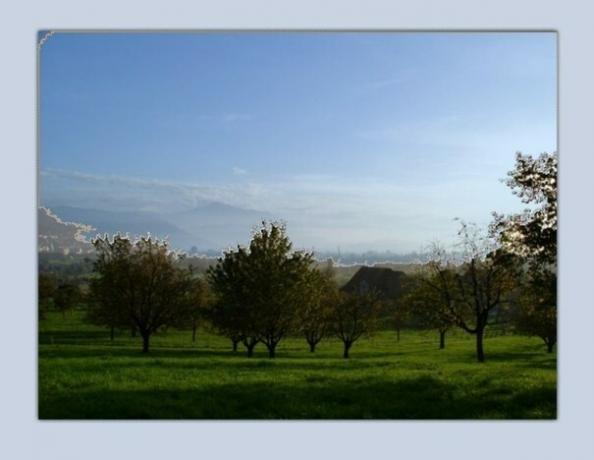
- Select the image file you want to remove the background from.
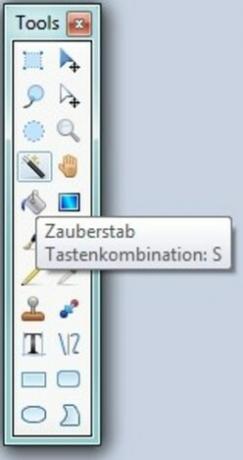
- Next, you need to select the area that you want to remove. You basically have two options for this. If you have a monotonous background, you can use the magic wand to select it (press the "S" key four times). Otherwise you should better use the lasso (two times key "S") to select the area manually. You will also find both tools in the left area in the first column in the second (lasso) or fourth (magic wand) position.
- With the magic wand, all you have to do is click on a point in the background to select the entire area. When lassoing you have to use your mouse start at a corner and then drive over the area.
- As soon as you have marked the area or at least part of it, press "Delete".
- Then the marked part will be removed and you will see white and gray squares, which means that the removed part is transparent. You may have to repeat steps 4 through 6 to cover all of your background.
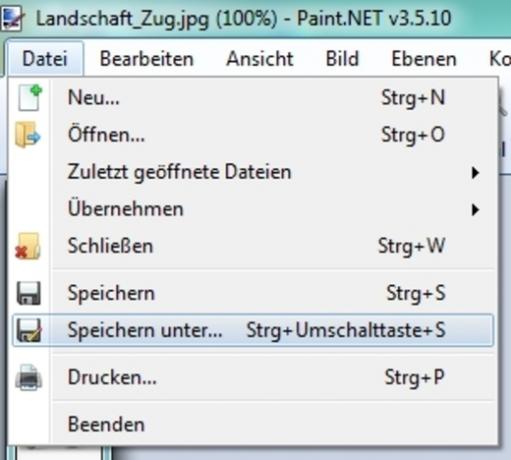
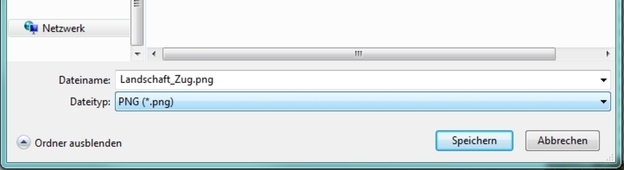
- Finally, press Ctrl + Shift + S to save your edited image file. If you want the background transparent, you should select "PNG" as the file type, otherwise you could use "JPG".